
Red
Velvet
Cupcakes
...cue the heavenly music here people, because these have cream cheese frosting.
I'm a huge fan of red velvet anything: cupcakes, cake, brownies, cheesecake...ANYTHING. So I was SUPER excited to give these ones a try. I have a Betty Crocker cupcake book that has not one but TWO different red velvet recipes in it. So I decided to give one of the a whirl. And they were fantastic, from the reviews I got from my friends. Actually, just looking at the pictures makes me want to make them again. Probably will for the holidays. Mmmmmmm red velvet cupcakes...yummmmmm
I won't delay this one, that would be too cruel. Although I will tell the quick funny story of how my original plan was to half this recipe because it said it made 24 cupcakes and I said to myself, "Kendra...you don't need 24 cupcakes. You will probably eat them all if you make 24 cupcakes. So half the recipe so you only have 12 cupcakes to eat." So I began to make the recipe, halving everything in the first chunk of it...except the butter. Which I realized only after I had begun to add the eggs in. Needless to say, I didn't want to waste my butter, sugar, and eggs so I made up my mind to just make the full recipe and just...do my best not to eat all the cupcakes. Yeah, hey sometimes that happens. Just another hiccup along the way, luckily it all turned out alright. Actually, better than alright, they turned out fantastically.
So here's what you need: a couple of bowls, some measuring cups, a hand mixer, a couple of 12 count muffin trays, and some cupcake liners.
As for the ingredients...for the cupcakes:
2-1/4 cups all-purpose flour (for once I didn't add ANY extra flour...well ok MAYBE 1/8 of a cup)
1/4 cup unsweetened baking cocoa (I use Hershey's stuff)
1 teaspoon baking soda
1 teaspoon salt
1/2 cup butter, softened
1-1/4 cups sugar
2 eggs
1 bottle (1 oz) red food color, which is about 2 Tablespoons
1-1/2 teaspoons pure vanilla extract
1 cup buttermilk (I think the buttermilk is the key to making these cupcakes so velvety smooth)
Alright, preheat the oven to 350 degrees Fahrenheit or about 175 degrees Celsius. Now grab a large bowl.

Beat the butter and sugar with your hand mixer on a medium speed until it's mixed well and pretty fluffy.
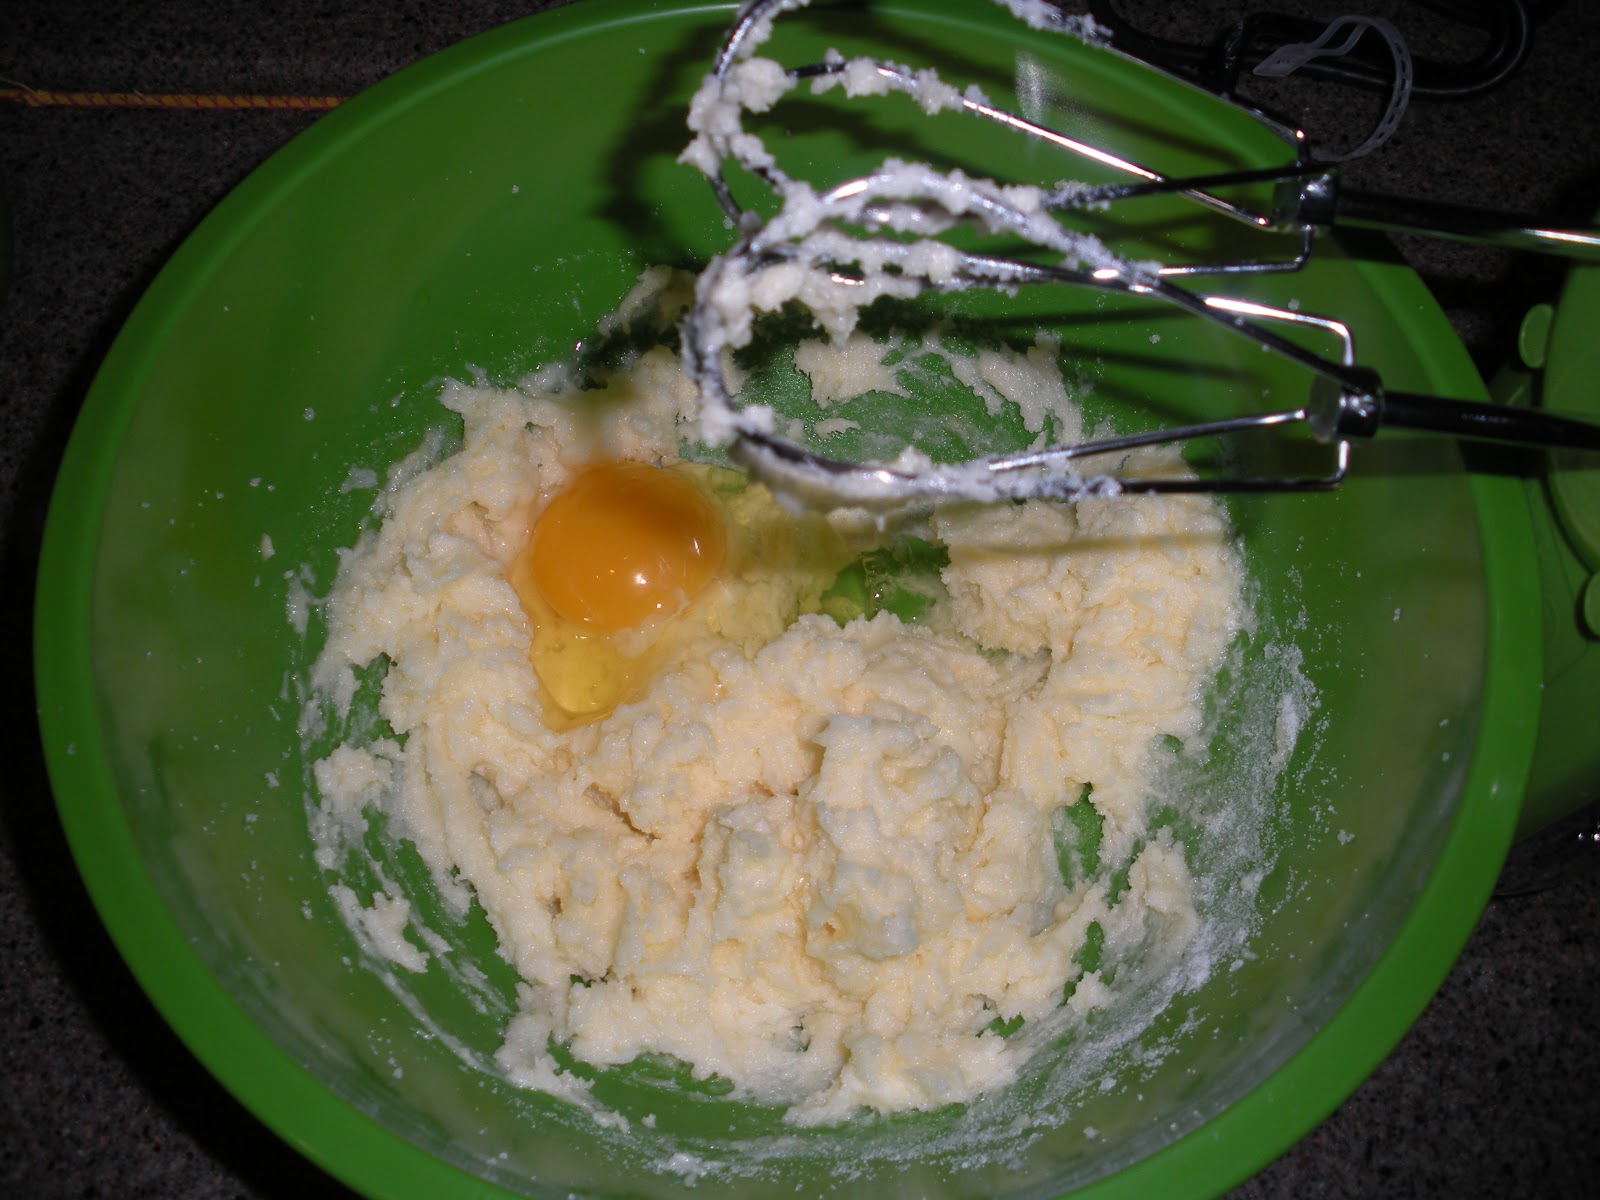
Add in the eggs and beat for 1 or 2 minutes, until everything is again nice and fluffy.

There we go. See how it looks nice and fluffy? And also it looks pretty smooth. That smoothness is pretty important for the cupcakes.

Now you're going to beat in the food coloring and the vanilla extract. Once you add in that food coloring the batter will look really, really smooth. I don't know why, but the red color just made it look incredibly silky to me. I also think the use of the hand mixer in this recipe is vital. Here, I'll show you...

Delicious looking, yes? Alright set that aside for about 2 minutes and grab a small/medium bowl.

Stir together the flour, cocoa, baking soda, and salt. I almost always sift the baking cocoa before I add it in just because it has a tendency to have some clumps and lumps in it. That's not really something you want. Granted using the hand mixer will break up most of those lumps, but if you want to be on the safe side, go ahead and sift the cocoa.

Now it's time to alternately add the flour mixture and the buttermilk to the red mixture. Start with the flour mixture, adding about 1/3 of it in. Then beat it on a low speed until everything is nicely mixed in.

Then you're going to add about half of the buttermilk. Again, mix on a low speed until everything is all mixed together. Now it's time to repeat that. Add another 1/3 of the flour, mix on a low speed. Add the rest of the buttermilk, mix on a low speed. Then finally add in the last of the flour and beat on a low speed. Add a little extra flour if you feel it's needed, but not too much because...

You want this nice, rich, smooth, silky looking batter. If your batter looks like this, you did something right.
Now that your batter is ready, and your oven is preheated, it's time to line your muffin tray(s) with paper liners and them fill them about 2/3 full. You can fill them up to 3/4 full, you'll just end up with slightly bigger cupcakes. This is what I did, so my batter made 18 cupcakes. I used a new batter dispenser tube thing to fill my muffin cups, it was much less messy than usual. But now I just got a another new batter dispenser that seems even easier to use. So I'll test it out sometime soon and let you know how well it works.

Pop them in the over for 20-25 minutes. I did 15 minutes, then turned my tray around and put them back in for another 5-7 minutes. Remember, every oven is different. So watch them carefully. You don't want to over-bake these because then they'll be dry and that's not what you want in a red velvet cupcake, or any cupcake, but red velvet especially.

Mid-cooking process. Ahhhhh delicious, and gorgeous looking cupcakes!!

Once, the cupcakes are done baking, take them out of the oven (duh) and let them cool in the pan for about 5 minutes. Then remove them to wire racks to cool completely. Yes, you need to let them cool completely or your cream cheese frosting will melt away while you're trying to frost your cupcakes, you don't want that.
So...while you're waiting for your cupcakes to cool. Let's get that cream cheese frosting going. Here's what you'll need:
1 package (8 oz) cream cheese, softened
1/4 cup butter, softened
1 teaspoon vanilla extract
2-4 teaspoons milk
4 cups powdered sugar (powdered or confectioners, it's the same)

In a large bowl, beat the cream cheese, butter, vanilla, and 2 teaspoons of milk. Beat with your trusty hand mixer on a low speed until everything is smooth.

Next you're going to beat in the powdered sugar, one cup at a time. Beat it on a low speed again, unless you want a cloud of sugar in your face. After all the sugar is added in, add just enough milk (which more than the remaining 2 teaspoons called for) so the frosting is a spreadable consistency and it needs to be smooth. Smooth, smooth, smooth.

Smooth, yummy, cream cheese frosting goodness. Are your cupcakes cooled completely? If not, pop the frosting in the fridge until they are. You might need to let it sit out for a couple minutes after the cupcakes are cooled, but use your judgement. I have faith in your frosting judgement.
The frosting can be placed in a pastry bag, frosting pen, or however you wish to frost your cupcakes. I used a tube and a star tip to frost mine. This was an experiment in the frosting department, but I think I did not too bad. Still, I wouldn't mind practicing some more. Oh well, guess I'll just have to make more cupcakes!

See? Some of them seem prettier than others. The key is to go slowly, don't rush the frosting. I started on the outside of the cupcake and circled my way in to the center. Also, once I frosted them I popped them in the fridge for the frosting to set a bit more on the cupcakes and firm up a bit. Then after that I placed them in air-tight containers and kept them in the fridge. Cream Cheese frosting equals cupcakes being stored in the fridge.

Well, here you go! I hope you enjoy these delicious treats!
Questions? Comments? Suggestions? Let me know with a comment :)
'Til Next Time!!
No comments:
Post a Comment