Saturday, November 3, 2012

Red Velvet Cupcakes


Red
Velvet
Cupcakes

...cue the heavenly music here people, because these have cream cheese frosting.


I'm a huge fan of red velvet anything: cupcakes, cake, brownies, cheesecake...ANYTHING. So I was SUPER excited to give these ones a try. I have a Betty Crocker cupcake book that has not one but TWO different red velvet recipes in it. So I decided to give one of the a whirl. And they were fantastic, from the reviews I got from my friends. Actually, just looking at the pictures makes me want to make them again. Probably will for the holidays. Mmmmmmm red velvet cupcakes...yummmmmm

I won't delay this one, that would be too cruel. Although I will tell the quick funny story of how my original plan was to half this recipe because it said it made 24 cupcakes and I said to myself, "Kendra...you don't need 24 cupcakes. You will probably eat them all if you make 24 cupcakes. So half the recipe so you only have 12 cupcakes to eat." So I began to make the recipe, halving everything in the first chunk of it...except the butter. Which I realized only after I had begun to add the eggs in. Needless to say, I didn't want to waste my butter, sugar, and eggs so I made up my mind to just make the full recipe and just...do my best not to eat all the cupcakes. Yeah, hey sometimes that happens. Just another hiccup along the way, luckily it all turned out alright. Actually, better than alright, they turned out fantastically.

So here's what you need: a couple of bowls, some measuring cups, a hand mixer, a couple of 12 count muffin trays, and some cupcake liners.

As for the ingredients...for the cupcakes:

2-1/4 cups all-purpose flour (for once I didn't add ANY extra flour...well ok MAYBE 1/8 of a cup)
1/4 cup unsweetened baking cocoa (I use Hershey's stuff)
1 teaspoon baking soda
1 teaspoon salt
1/2 cup butter, softened
1-1/4 cups sugar
2 eggs
1 bottle (1 oz) red food color, which is about 2 Tablespoons
1-1/2 teaspoons pure vanilla extract
1 cup buttermilk (I think the buttermilk is the key to making these cupcakes so velvety smooth)

Alright, preheat the oven to 350 degrees Fahrenheit or about 175 degrees Celsius. Now grab a large bowl.


Beat the butter and sugar with your hand mixer on a medium speed until it's mixed well and pretty fluffy.
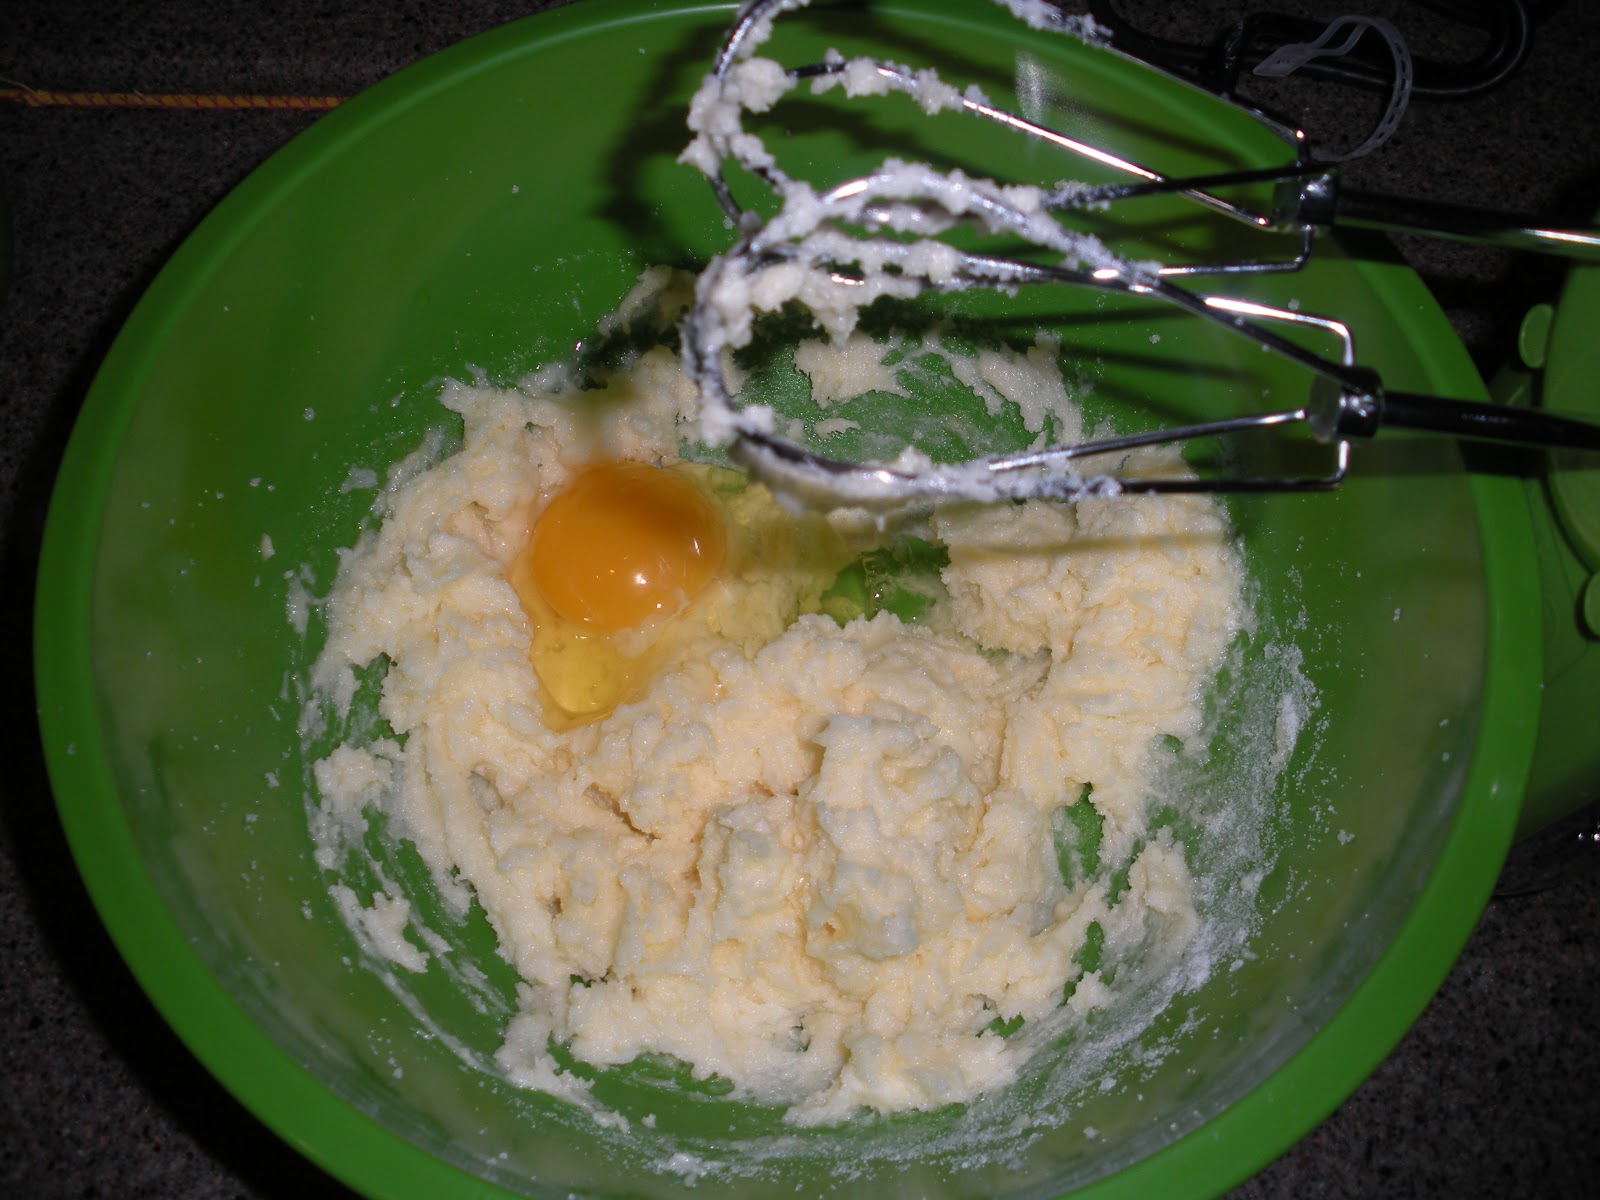


Add in the eggs and beat for 1 or 2 minutes, until everything is again nice and fluffy.


There we go. See how it looks nice and fluffy? And also it looks pretty smooth. That smoothness is pretty important for the cupcakes.


Now you're going to beat in the food coloring and the vanilla extract. Once you add in that food coloring the batter will look really, really smooth. I don't know why, but the red color just made it look incredibly silky to me. I also think the use of the hand mixer in this recipe is vital. Here, I'll show you...


Delicious looking, yes? Alright set that aside for about 2 minutes and grab a small/medium bowl.


Stir together the flour, cocoa, baking soda, and salt. I almost always sift the baking cocoa before I add it in just because it has a tendency to have some clumps and lumps in it. That's not really something you want. Granted using the hand mixer will break up most of those lumps, but if you want to be on the safe side, go ahead and sift the cocoa.


Now it's time to alternately add the flour mixture and the buttermilk to the red mixture. Start with the flour mixture, adding about 1/3 of it in. Then beat it on a low speed until everything is nicely mixed in.


Then you're going to add about half of the buttermilk. Again, mix on a low speed until everything is all mixed together. Now it's time to repeat that. Add another 1/3 of the flour, mix on a low speed. Add the rest of the buttermilk, mix on a low speed. Then finally add in the last of the flour and beat on a low speed. Add a little extra flour if you feel it's needed, but not too much because...


You want this nice, rich, smooth, silky looking batter. If your batter looks like this, you did something right.

Now that your batter is ready, and your oven is preheated, it's time to line your muffin tray(s) with paper liners and them fill them about 2/3 full. You can fill them up to 3/4 full, you'll just end up with slightly bigger cupcakes. This is what I did, so my batter made 18 cupcakes. I used a new batter dispenser tube thing to fill my muffin cups, it was much less messy than usual. But now I just got a another new batter dispenser that seems even easier to use. So I'll test it out sometime soon and let you know how well it works.


Pop them in the over for 20-25 minutes. I did 15 minutes, then turned my tray around and put them back in for another 5-7 minutes. Remember, every oven is different. So watch them carefully. You don't want to over-bake these because then they'll be dry and that's not what you want in a red velvet cupcake, or any cupcake, but red velvet especially.

Mid-cooking process. Ahhhhh delicious, and gorgeous looking cupcakes!!


Once, the cupcakes are done baking, take them out of the oven (duh) and let them cool in the pan for about 5 minutes. Then remove them to wire racks to cool completely. Yes, you need to let them cool completely or your cream cheese frosting will melt away while you're trying to frost your cupcakes, you don't want that.


So...while you're waiting for your cupcakes to cool. Let's get that cream cheese frosting going. Here's what you'll need:

1 package (8 oz) cream cheese, softened
1/4 cup butter, softened
1 teaspoon vanilla extract
2-4 teaspoons milk
4 cups powdered sugar (powdered or confectioners, it's the same)


In a large bowl, beat the cream cheese, butter, vanilla, and 2 teaspoons of milk. Beat with your trusty hand mixer on a low speed until everything is smooth.


Next you're going to beat in the powdered sugar, one cup at a time. Beat it on a low speed again, unless you want a cloud of sugar in your face. After all the sugar is added in, add just enough milk (which more than the remaining 2 teaspoons called for) so the frosting is a spreadable consistency and it needs to be smooth. Smooth, smooth, smooth.


Smooth, yummy, cream cheese frosting goodness. Are your cupcakes cooled completely? If not, pop the frosting in the fridge until they are. You might need to let it sit out for a couple minutes after the cupcakes are cooled, but use your judgement. I have faith in your frosting judgement.

The frosting can be placed in a pastry bag, frosting pen, or however you wish to frost your cupcakes. I used a tube and a star tip to frost mine. This was an experiment in the frosting department, but I think I did not too bad. Still, I wouldn't mind practicing some more. Oh well, guess I'll just have to make more cupcakes!


See? Some of them seem prettier than others. The key is to go slowly, don't rush the frosting. I started on the outside of the cupcake and circled my way in to the center. Also, once I frosted them I popped them in the fridge for the frosting to set a bit more on the cupcakes and firm up a bit. Then after that I placed them in air-tight containers and kept them in the fridge. Cream Cheese frosting equals cupcakes being stored in the fridge.


Well, here you go! I hope you enjoy these delicious treats!
Questions? Comments? Suggestions? Let me know with a comment :)

'Til Next Time!!

Friday, October 26, 2012

Muffin Kick Round 3: Cranberry Orange

Muffin Kick Round 3:
Cranberry Orange

So my dad was coming into town from California, actually still is in town, and he requested some cranberry orange muffins. So I looked through some recipes and found this one hidden among them. Having never made these particular muffins before I figured dad would be a good guinea pig. After all, he usually doesn't mind it and gives pretty good constructive criticism when I need it. I got good reviews for this one so I deemed it worthy of coming onto my blog. Wouldn't want to post something that I didn't get the approval of my taste-testers.

So like most muffins, these are fairly easy. Hardest thing was finding the damn cranberries in the grocery store. I really like that these muffins are made with whole wheat flour, I like the color it gives the muffins and whole wheat just sounds healthier in general, right?

Alright, so let's not waste any time here. Unless you want to...so how was your day? Mine was alright, worked both jobs now I'm enjoying a refreshing beverage and writing this lovely entry. My puppy dog is at my feet and she'll probably stay there...at least until she realizes I have no food, I'm just writing. Yep...that's my exciting Friday night. Well, I got big plans for tomorrow so I can handle a quiet night tonight.

So let's get started on these muffins. Here's what you'll need material-wise: 2 medium/large bowls, mixing spoon, and a muffin tray. Simple right? Yes. Excellent!

2 cups whole wheat flour (I added extra, probably about 1/3-just under 1/2 a cup)
1/3 cup sugar (I ended up with closer to 1/2 a cup probably)
2 teaspoons baking powder
1/2 teaspoon baking soda
1/4 teaspoon salt
1-1/2 cups orange juice
1/4 cup canola oil
1 egg
1 cup fresh or frozen cranberries (you can cut them in half if you so choose, I didn't...mainly because I forgot)

OK so first...preheat your oven to 400 degrees Fahrenheit.

Then, in a large bowl get the flour, sugar, baking powder, baking soda, and salt together and mix them all up.


Next...get a medium sized bowl and combine the orange juice, oil, and egg. Mix it all up so the egg is well beaten and the oil isn't separated from it all. So you add the orange juice to the egg and oil...


 Yummy, yummy orange juice


And...BOOM! Whisk it all together so it's all wonderful and fantastic!


Now what you're going to do is create that "well" we talked about in my Old-Fashioned Raspberry Muffins entry. Basically, it's a hole in the center of the dry ingredients. It really does help get all the dry ingredients moistened a lot better without having to stir the batter a lot, which can cause the muffins then to not rise properly, be tough, or just not good in general. So make this well as displayed...


Then it's very simply, you're going to pour the wet mixture into the well. Now this one has quite a large amount of liquid, which is why I added extra flour. So the liquid fills the well and pretty much covers the top of the dry ingredient well.


No worries though! Just gently mix it all up and get everything night and moist. You want it to be all mixed, meaning you don't want random clumps of dry flour ingredient and stuff. And don't be a afraid to mix the batter well, just basically don't sit there mixing and stirring for more than a minute or so. Don't go getting all crazy having fun and stir it for 5 minutes. That won't lead to deliciousness of the muffins. What you can do once everything is mixed in, is add the cranberries.


These, you fold in. "Fold" means scooping up from the bottom of the bowl and making that folding motion with your spatula/mixing spoon. This helps mix the cranberries in without continuing to stir the batter. See? It's a very sneaky technique, it makes you think your stirring and mixing the batter more...but you're not.


Now it's time to get them in the pan! Either coat the muffin tray with cook spray, misted olive oil, grease and flour, however you want to do it. Me? I personally like to just use the paper liners. It's a way easier clean up. Fill them about 3/4 full. I filled mine a little more because I only wanted 12 muffins. I was giving them to my dad and didn't want to give him 16+ muffins. And they didn't puff over and come together so if you want to fill them mostly full, be my guest.


So you're going to fill them up, then pop them in the preheated, 400 degree oven for about 20 minutes. I put mine in for 15 then turned the pan around and put them in for another I believe 3 or 4 minutes. Every oven is different, check yours and watch your muffins carefully. They're done when a toothpick or cake tester inserted near the center comes out clean. And you want them to look like they're cooked, I usually cook mine a couple extra minutes because once they cool down a set I don't want them to be mushy. No one likes mushy muffins. Even if the alliteration sounds nice, mushy muffins are not good.


So here's my favorite muffin shot while they're cooking. See they're just beginning to rise and get all yummy looking. This is at about the halfway mark. This is when I concluded that filling the cups slightly fuller wasn't going to be disastrous.

Once the muffins are finished cooking, you want them to be lightly browned, let them cool in the tray for about 5 minutes. This helps them set a bit and makes them easier, and not so hot, to handle. Move them to a wire rack to cool completely...or until they've cooled enough to where you want to eat them.


Well, there you go! Done and done! Now I probably used more cranberries than directed in the recipe. I know my dad likes cranberries and the extra in the muffins would be something he would enjoy. For people who would prefer more of an orange taste than cranberry I would suggest not adding extra orange juice, all that's going to do it make the muffins runny. *Eww* So here's what I would do: Either add some orange extract (probably 1/4-1/2 teaspoon) or a teaspoon or 2 of orange zest. I'm thinking either of those would boost the orange flavor and counter the cranberry if you want that. If you want balance, add the amounts I listed in the ingredients above.

Questions? Comments? Concerns? Suggestions? Let me know :) I'm happy to hear!


Thanks for reading!
'Til Next Time!!

Monday, October 15, 2012

Muffin Kick Round 2: Old-Fashioned Raspberry


Muffin Kick Round 2:
Old Fashioned Raspberry Muffins

I'm in a particularly good mood today, just got a call informing me that I officially have a second job. Yes, a second job. Part of that kinda sucks, but I need it. I am happy that I'll be working at Sur La Table, one of my all-time favorite cooking supply stores. Ahhh I'm so excited!!

OK, so continuing my little muffin kick. These muffins are delicious. They were originally supposed to be blueberry muffins, but I made them into raspberry muffins. Are you seeing a trend starting here? I like to substitute other fruits for the original ones in whatever recipe I have. So take note of this: you can substitute ingredients, it's not a crime and if there's a fruit you like better than raspberries or blueberries swap them out! Who cares! They're your muffins, you do what you want. So this one is a very simple one. Let's not waste any time and just get started!

Here's what you'll need:

2 eggs
1-1/4 cups milk (I used 1% milk)
1/2 cup melted butter
1 tsp grated lemon zest (can sub this for 1/2 tsp of lemon extract)
1-1/2 cups all-purpose flour
1 cup whole wheat flour
1/2 cup sugar
1 tablespoon baking powder
1/2 teaspoon salt
1-1/2 cups raspberries...or blueberries...or whatever you want :)

I think part of what I really like about these muffins is that they have whole wheat flour in them. It's different from the typical baking that I do where only all-purpose flour is used. I like the idea of whole wheat flour, it just makes me feel like it's healthier. And hey, there's fruit in these that automatically makes it healthy...right?

Let's get started!! Preheat your oven to 400 degrees Fahrenheit (or 200 Celsius)

Grab a medium bowl, and combine the eggs, milk, butter, and lemon zest (or lemon extract) whisk it together well. Like so...

Set that aside for a couple of minutes. Then in a large bowl, you're going to combine the all-purpose flour, whole wheat flour, sugar, baking powder, and salt and mix that together so all the dry ingredients are evenly dispersed.

OK are we all set? Good! Now create a well in the dry ingredients, you can sort of see it in the picture up above. You create a well to help with the mixing process of the muffin batter. It really just makes it a hell of a lot easier to mix the batter up by hand. So pour the egg/milk mixture into the dry ingredients, like so...


Mix all this deliciousness up by HAND. Yes, no trusty hand mixer with these babies. Nope I like these muffins to be done strictly by hand. Maybe it's because they're called "old-fashioned" Hmmmm I don't know. Anywho...Mix it up JUST UNTIL THE DRY STUFF IS MOISTENED!!!


Ta-da!!!! Haha just kidding, we're not there yet. But once everything is mixed in...not over-mixed. Time to add in the raspberries! Or...you know, whatever fruit you so choose. I would recommend blueberries or raspberries though with these ones. You're going to want to gently fold the raspberries in so you don't destroy them and turn them into mush.


Oh how simple this recipe is. Now it's time to spoon the batter into either a greased muffin tin or spoon the batter into paper-lined muffin cups. Make sure the muffin cups are even otherwise you'll have mis-matching oddly shaped muffins. Which...well let's face it, I normally do. Oh well, they still end up being pretty damn delicious.


These are going to go in the oven for about 20 minutes. I put them in for 15 the turn the pan around for the last 5 minutes. Like I've said before, watch the muffins, love the muffins, don't burn the muffins. Know your oven and how it heats. These will be done when a toothpick or cake tester comes out clean when inserted near the center.


Let these cool for about 5 minutes in the pan then remove them to a wire rack to cool completely. These, like the strawberry cream muffins from last week, also taste pretty yummy warm.


There you go! See? Very simple! And very easy to make! Keep these in an air-tight container and they'll stay fresh for about a week. If you want to keep them a little longer, pop them in the fridge then into the microwave for a few seconds before you eat them! These are a hit and I'm sure everyone would love them!


Hope you enjoy these!!
'Til Next Time!!

Saturday, October 6, 2012

On a Muffin Kick...Round 1: Strawberry Cream


Strawberry
Cream
Muffins

Fricken 
Deeeeelicious


It was a Monday night, and I really wanted some muffins. Sooooo here is this... They were supposed to be raspberry cream muffins, but sadly my raspberries were moldy :( So I ran out to Target to get some raspberries. But no. They were all out because they were on sale last week! When I wanted to make my muffins! Gah!! I love making muffins. Why? Because they're ridiculously easy to make (for the most part), and they're not like cupcakes, which can get pretty intensely sweet. Muffins are great anytime: breakfast, snack, dessert. You're set with these. So with that in mind, let's get started on my Strawberry Cream Muffins!


Couple things you will want to have on hand. Obviously a muffin tray, standard size, and some paper muffin/cupcake liners. I use these even when I make muffins just because it's SO much easier to to clean up the tray afterwards and you don't have to worry about the muffins getting stuck in the tray if you didn't grease it properly. Of course the usual bowls and hand mixer and/or mixing spoon.

So here's what you need to make these treats!

1 cup fresh strawberries, finely chopped
3/4 cup of sugar, divided into 1/4 cup and 1/2 cup
1/4 cup of butter, softened
1 egg
1/2 teaspoon almond extract
1/2 teaspoon vanilla extract
2-1/4 cups all-purpose flour (I used a little extra probably closer to 2-1/2 cups)
3 teaspoons baking powder (which is the same as 1 tablespoon...)
1/2 teaspoon salt
1 cup half-and-half cream
1 cup finely chopped white chocolate chips (I use Nestle)
2 tablespoons each of brown sugar and white sugar

Preheat your oven to 375 degrees.

OK! So you're going to want to chop up your strawberries first. I chopped mine into small pieces because I wanted a good mix of strawberry and muffin. Not just huge chunks of strawberries in the muffins. Once you have them chopped up you're going to toss the strawberries in 1/4 cup of sugar.


Set that aside and grab a large bowl. Cream the 1/4 cup of butter and 1/2 cup of sugar until it's light and fluffy like I've demonstrated in some of my other blog entries. Then you're going to add in the egg, and the almond and vanilla extracts.


In my opinion the almond extract adds so much flavor to these muffins, definitely something I will be sure to find ways to use in other muffin recipes. I love the taste vanilla adds to baking treats, but I totally forgot about how wonderful almond extract can be!


Now we need another bowl to combine the flour, baking powder, and salt. Mix it up so the salt and baking powder is nicely blended in with the flour. Again I added another 1/4 cup or so of flour here, and I added a tiny bit more once the whole batter was put together. It's all about using your judgment to get the right consistency in the batter that will allow the muffins to rise nicely as they bake.


Now it's time to do our wonderful alternating mixing in of the dry ingredients and wet ingredients (the half-and-half cream) into the creamed mixture! I always like to start with the dry ingredients. Add about a cup then mix it in with either your trusty hand mixer or by hand. Then add in some of the cream, and so on and so on until everything is mixed in nicely. Like I've said before, don't over mix or you'll have some pretty tough muffins.


Here's a shot of me mixing in some of the dry ingredients. I like to break the alternating of the wet/dry ingredients into about 3 sections. Mixing well every time, but really just until it's all moist and not over done. I know I'm repeating myself, but it's a pretty important element of baking.


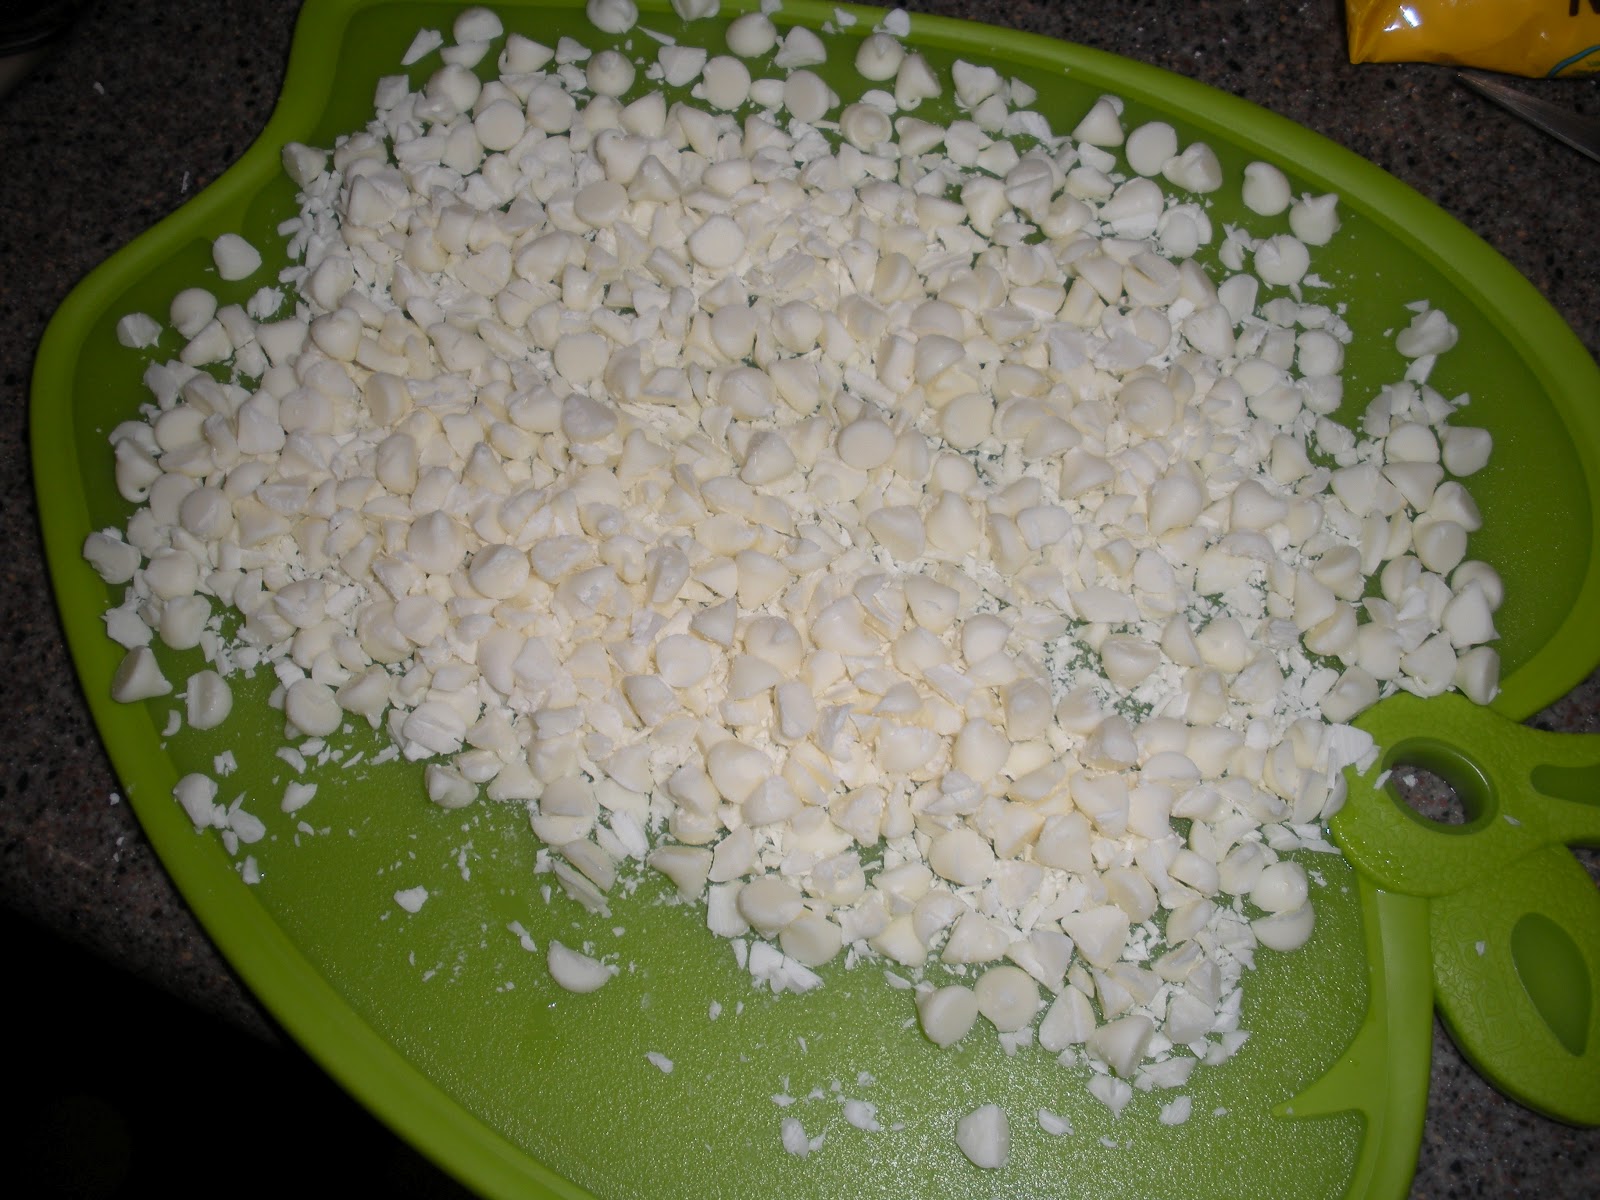
Once that's all taken care of. It's time to chop up the white chocolate chips...Not gonna lie, I was a little lazy with my chopping of the chips. Just took a big knife and went to town with it. Maybe next time I'll toss the chips in my food processor to chop them a bit better. Maybe you can try it and let me know how it goes?  :)


So you're going to add the white chips and the chopped up strawberries from earlier into the batter...


Mix them in gently so you don't destroy the strawberries. And again, I'm saying mix it gently BY HAND and only mix them in until everything in there is evenly distributed.


You're ready to bake them now! Well...almost. Either grease the muffin cups or line them with paper muffin/cupcake cups. and fill them with the batter about 3/4 full. Remember, only fill them 3/4 full otherwise you may end up with the problem that I had before with my muffins or cupcakes overflowing and connecting with each other, and making a huge hassle to take them out.


Take the brown sugar and white sugar and mix them together. Sprinkle the sugar on top of the muffin batter. Pop them in the over for 25-30 minutes, at 375 degrees. Now, with all cooking/baking oven temperatures can vary so watch your muffins!! I like to switch my pan around at the 15 minute mark, then I cooked them for another 7-9 minutes.


I don't know why, but I really like sneaking in a picture of my baking goods while they're in the process of cooking. It helps me see if I needed to add more or less flour, if I needed to fill the muffin cups more or less. It's just something I do. And you'll know your muffins are done when a took pick or cake tester comes out clean when inserted into the center of the muffin.


OK so my recipe says this makes 1 dozen muffins. I went, perfect! I nice even 12 muffins. But no, somehow mine made 16. So I covered the extra batter and put it in the fridge while the first batch was in the oven. Now since my second batch only made 4 more muffins, I fill the empty cups about half way full with water. Doing this helps the muffins cook evenly and also keeps them moist. Don't understand the way it works, but it does.


When the muffins are done, cool them in the pan for about 5 minutes, then move them to a wire rack to cool a bit more. These muffins are delicious warm so feel free to serve them once they've cooled down enough to not burn your mouth. Also, I kept mine in the fridge because for some reason in my house my muffins go moldy in a few days if I leave them on the counter. Even if they're in an air-tight container. I don't get it, but I think it's because how hot it is :(

But fear not! Pop the muffins in the microwave for about 15 seconds and BOOM! nice warm muffins to enjoy!


There you go! Hope you enjoy these!
'Til Next Time!!